
前言
因为打算长期写blog,数据安全就犹然重要。所以写了个定时备份的脚本,就算服务器挂了,数据还在。
备份内容
要完整备份typecho,只需备份数据库,typecho的 usr文件夹即可。
如果要迁移typecho只需以下步骤
- 在新服务器搭建typecho,数据库名称需相同。
- 备份原typecho的
usr文件夹. - 备份数据库
mysqldump -uroot -p --all-databases > sql_backup.sql - 在新服务器还原数据库
mysql -uroot -p < sql_backup.sql - 用备份的
usr文件夹覆盖新的typecho中对应文件夹。
配置发送邮件环境
- 本文以163有效为例
开启邮箱SMTP服务

同时获取授权密码
- 阿里云默认关闭了25端口,所以我们要使用SSL下的465端口
测试端口:
telnet smtp.163.com 25telnet smtp.163.com 465
配置证书
mkdir -p /root/.certs/ #创建目录,用来存放证书
echo -n | openssl s_client -connect smtp.163.com:465 | sed -ne '/-BEGIN CERTIFICATE-/,/-END CERTIFICATE-/p' > ~/.certs/163.crt #向163请求证书
certutil -A -n "GeoTrust SSL CA" -t "C,," -d ~/.certs -i ~/.certs/163.crt #添加一个SSL证书到证书数据库中
certutil -A -n "GeoTrust Global CA" -t "C,," -d ~/.certs -i ~/.certs/163.crt #添加一个Global 证书到证书数据库中
certutil -L -d /root/.certs #列出目录下证书
cd /root/.certs/
certutil -A -n "GeoTrust SSL CA - G3" -t "Pu,Pu,Pu" -d ./ -i 163.crt
配置发件人
编辑 /etc/mail.rc
插入以下代码
set smtp=smtps://smtp.163.com:465
set from= #发送邮箱
set smtp-auth-user= #发送邮箱
set smtp-auth-password= #授权密码
set smtp-auth=login #默认login
set ssl-verify=ignore #ssl认证方式
set nss-config-dir=/root/.certs #证书所在目录
测试发送
echo "body" | mail -s "subject" receiver@domain.com
如果收到邮件则配置正确。
备份并推送邮件脚本
- 可根据以下脚本进行修改
- 默认备份30天
#!/bin/bash
#备份文件路径
backup_dir=/root/backup_blog
#typecho的usr文件夹路径
usr_path=/var/www/html/usr
#数据库用户及密码
uname=root
upwd=password
backup_date=$(date +%Y%m%d_%H%M%S)
host_ip=`curl http://members.3322.org/dyndns/getip`
#没有则创建目录
mkdir -p $backup_dir;
#执行备份任务
mkdir -p $backup_dir/$backup_date;
mysqldump -u$uname -p$upwd --all-databases > $backup_dir/$backup_date/db_$backup_date.sql
tar -Pcf $backup_dir/$backup_date/usr_$backup_date.tar $usr_path
#创建备份日志
echo "Create blog_backup_$backup_date" >> $backup_dir/log.txt
#删除30天前备份文件夹
delfile=`find $backup_dir -mtime +30 -type f -name "*_*"`
if [ $delfile ];
then
echo -e "##################################\nDelete the following folder\n$delfile\n##################################" >> $backup_dir/log.txt
find $backup_dir -mtime +30 -type f -name "*_*" -exec rm -rf {} \;
fi
#打包备份文件
tar -Pcf $backup_dir/blog_backup_$backup_date.tar $backup_dir/$backup_date
#发送邮件
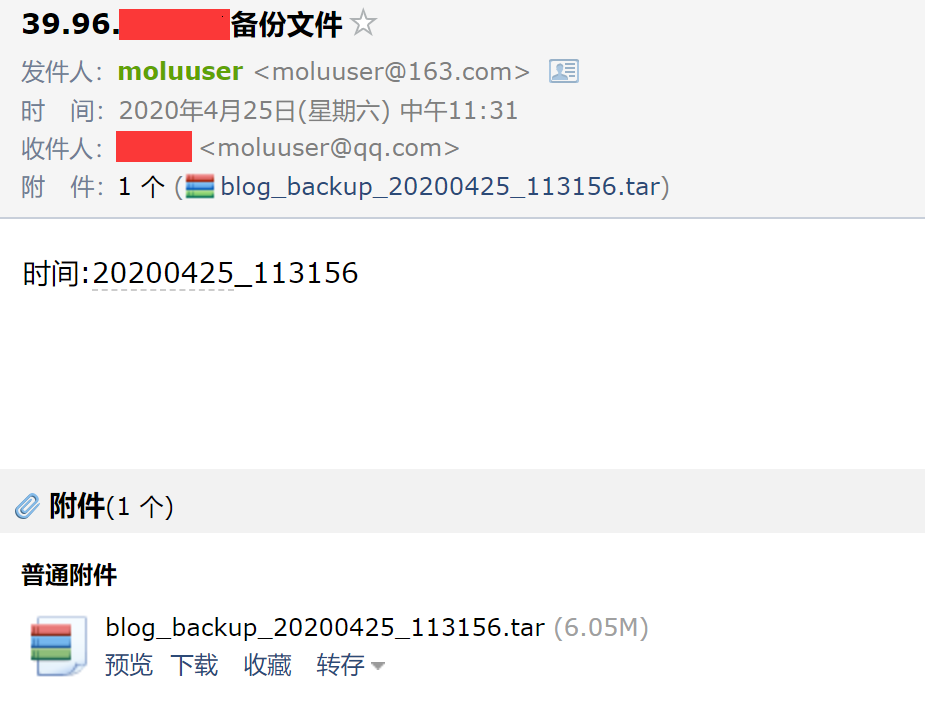
echo "时间:$backup_date" | mail -s "$host_ip备份文件" -a $backup_dir/blog_backup_$backup_date.tar moluuser@qq.com #你的接收邮箱
rm -f $backup_dir/blog_backup_$backup_date.tar
执行一次会接收到如下邮件
- 执行之前要给777权限
- 如果执行脚本提示
/bin/bash^M: bad interpreter: No such file or directory
是因为Windows下编辑上传到linux系统里执行。.sh文件的格式为dos格式。而linux只能执行格式为unix格式的脚本。
解决方法:vim下 set ff=unix保存即可
创建计划任务
crontab -e- 插入
0 22 * * * /root/backup_blog.sh即每天22点执行一次备份任务 service crond restart
参考链接:
- https://blog.csdn.net/qq_42859864/article/details/84862977
- https://www.cnblogs.com/zyb-pp/p/6429448.html
- https://www.cnblogs.com/eternal1025/p/8554225.html
- https://www.cnblogs.com/eternal1025/p/8554225.html
版权属于:moluuser
本文链接:https://moluuser.com/archives/20/
本作品采用知识共享署名-非商业性使用-相同方式共享 4.0 国际许可协议进行许可。


老哥,备份发邮件的时候出现SMTP write error: Bad file descriptor这个错误怎么回事呢